 +86 18968869621
Leave Your Message
-
CONTACT NUMBER
-
 CONTACT NUMBER
-

Choosing an Induction Downlight is not simply a matter of matching a fixture to a ceiling cutout. Beam angle, color rendering, glare, heat, and maintenance access all affect the finished space. A bright pool on a kitchen counter can still leave dark corners. Small details matter.
The International Energy Agency’s Buildings analysis estimates that buildings account for around 30% of global final energy consumption. That figure covers far more than lighting, but it shows why efficient design deserves attention. The U.S. Department of Energy reports that LED lighting uses at least 75% less energy than incandescent lighting and can last up to 25 times longer. This is a useful efficiency benchmark, not a direct comparison with induction technology. Performance depends on the specific product and operating conditions.
This guide explains how to assess an Induction Downlight by checking its light output, color temperature, rated life, dimming compatibility, and installation requirements. Compare manufacturer test data, not just attractive packaging. Also consider how many hours the fitting will run and whether replacing it would require opening a finished ceiling. The right choice is not always the highest-output model. A little uncertainty remains: product claims can be difficult to compare when test methods differ. That deserves a second look.
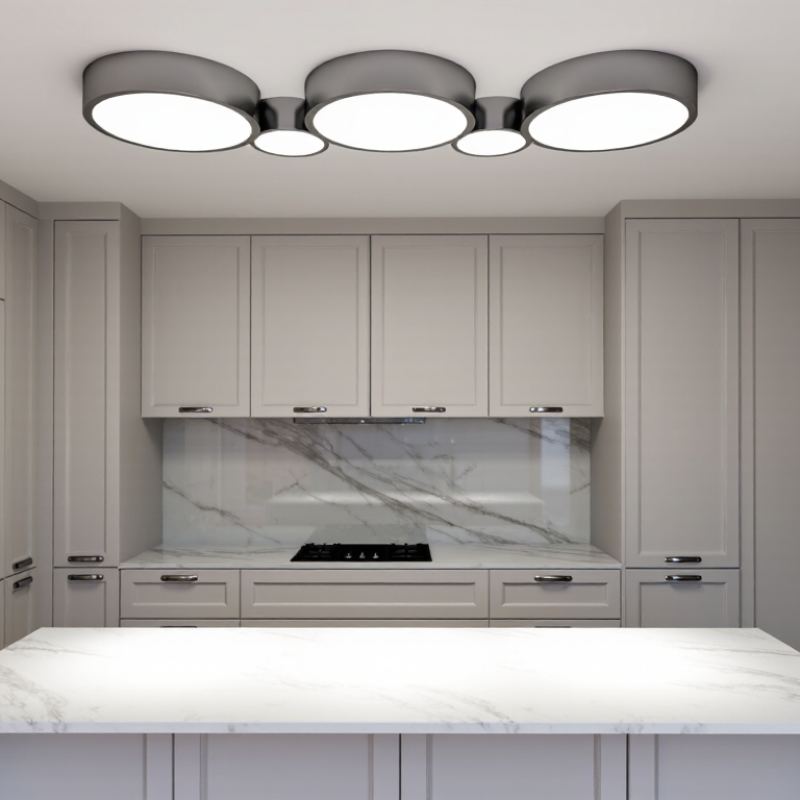
An induction downlight produces light without electrodes inside its lamp. An electronic generator creates a changing electromagnetic field around a sealed, gas-filled bulb. That field energizes the gas, which emits ultraviolet radiation. A phosphor coating inside the bulb converts that radiation into visible light.
The system usually includes a lamp, an induction coil, and a driver that supplies the coil’s high-frequency power. A reflector or lens directs the light downward through the ceiling opening. That matters. The driver and lamp need suitable thermal management, even though the light source has no conventional filament. Heat can still affect component life.
When comparing designs, check the rated lumen output, beam angle, color temperature, dimming compatibility, and cut-out size. Also confirm where the driver sits; a cramped ceiling cavity can make installation awkward. A small detail. Product terminology is not always consistent, and some fixtures described as induction downlights may use different light-source technology. Check the technical specification rather than relying on the label alone. It is easy to focus on long-life claims, but installation conditions and replacement-part availability deserve attention too.
How to Choose the Right Induction Downlight? – What an Induction Downlight Is and How It Works
| Selection Dimension | What It Means | What to Look For | Practical Guidance |
|---|---|---|---|
| What “induction downlight” means | In many lighting markets, this term refers to a recessed downlight with an occupancy or motion sensor. The sensor detects movement and switches the light on, often with an adjustable off-delay. | Check whether the product uses a motion sensor, a daylight sensor, or both. | The term can be used differently by manufacturers. Confirm the sensing method and control functions in the product specifications. |
| How the sensor works | A passive infrared (PIR) sensor detects changes in infrared energy, such as the movement of a person across its field of view. A microwave sensor emits low-power radio waves and detects changes in their reflections caused by movement. | Identify the sensor technology and review its stated coverage, detection direction, and installation conditions. | PIR generally needs a suitable line of sight. Microwave sensing may detect movement through some non-metallic materials and can be more prone to detecting movement outside the intended area. |
| Room and use pattern | Sensor-controlled lighting is useful where people enter and leave regularly and do not always operate a wall switch. | Consider rooms such as hallways, utility areas, storage rooms, and some bathrooms, subject to suitable product ratings and local regulations. | For areas where occupants remain still for long periods, verify that the sensor can detect small movements or choose a suitable manual-control option. |
| Detection coverage | Coverage depends on the sensor type, lens, mounting height, room layout, and direction of movement. | Compare the manufacturer’s specified detection range and angle with the room dimensions and likely walking paths. | Do not assume one sensor will cover an entire room. Walls, furniture, partitions, and sensor placement can reduce or change coverage. |
| Daylight threshold | A built-in photocell can prevent the light from switching on when there is already enough ambient light. | Check whether the daylight threshold is fixed or adjustable, and whether the sensor can operate in the intended lighting conditions. | This feature can reduce unnecessary operation during daylight, but its performance depends on sensor placement and surrounding light. |
| Off-delay and sensitivity | The off-delay determines how long the light stays on after motion is no longer detected. Sensitivity affects how readily movement triggers the sensor. | Look for adjustable settings if the space has changing occupancy patterns or a risk of unwanted activation. | A delay that is too short may cause the light to switch off while someone is present; one that is too long may increase energy use. |
| Light output | Lumens indicate the amount of visible light produced. The required output depends on room size, ceiling height, surface colors, and the task being performed. | Compare lumen output and lighting layout rather than choosing by watts alone. | For a larger area or a detailed task, multiple appropriately spaced fittings may provide more even light than one bright fitting. |
| Beam angle and glare | The beam angle describes how widely light is distributed. Trim design, reflector, and diffuser also affect visual comfort. | Choose a distribution suited to the room and check for glare, especially where people look toward the fitting. | A wider distribution can help with general illumination, while more focused light may suit accent or task lighting. |
| Colour temperature and colour rendering | Correlated colour temperature (CCT), measured in kelvin, describes whether light appears warmer or cooler. Colour rendering indicates how naturally colours appear under the light. | Check the stated CCT and colour-rendering index (CRI) against the desired appearance and use of the room. | Use a consistent colour appearance in adjoining spaces. A higher CRI can be useful where accurate colour perception matters. |
| Ceiling fit and dimensions | Recessed downlights must fit the ceiling opening and available space above it. | Confirm cut-out diameter, overall fitting diameter, recess depth, and any required clearance from insulation or other materials. | Dimensions vary by product; do not assume an existing ceiling cut-out will fit a replacement fitting. |
| Moisture and ingress protection | An IP rating describes protection against solid objects and water under specified test conditions. | Choose a rating appropriate to the installation location and check local electrical requirements, especially for bathrooms or outdoor-adjacent areas. | An IP rating alone does not establish that a fitting is suitable for every bathroom location. Follow the applicable local rules and installation instructions. |
| Dimming and controls | Some downlights support dimming or external controls; others are designed only for sensor switching. | Check compatibility among the light, sensor, dimmer, and any control system before purchase. | Do not assume a sensor-equipped downlight is dimmable. Use only control combinations approved for the product. |
| Electrical and installation requirements | Supply voltage, wiring arrangement, driver location, and installation method affect whether a fitting is suitable. | Verify the rated supply, wiring instructions, driver access, and any required isolation or clearances. | Have installation carried out in accordance with the product instructions and applicable local electrical codes. |
Note: Sensor ranges, timing settings, light output, dimensions, and electrical requirements vary by model. Use the product’s current technical documentation to confirm suitability for the specific installation.