How to Install an Induction Cabinet Light for Optimal Home Lighting
When it comes to enhancing the ambiance and functionality of home spaces, the significance of proper lighting cannot be overemphasized. According to lighting expert Dr. Emily Carter, "An induction cabinet light not only illuminates your space but also elevates the aesthetic appeal of your home." Induction cabinet lights are an innovative solution that provides efficient, hands-free lighting, making them ideal for kitchens, closets, and storage areas.
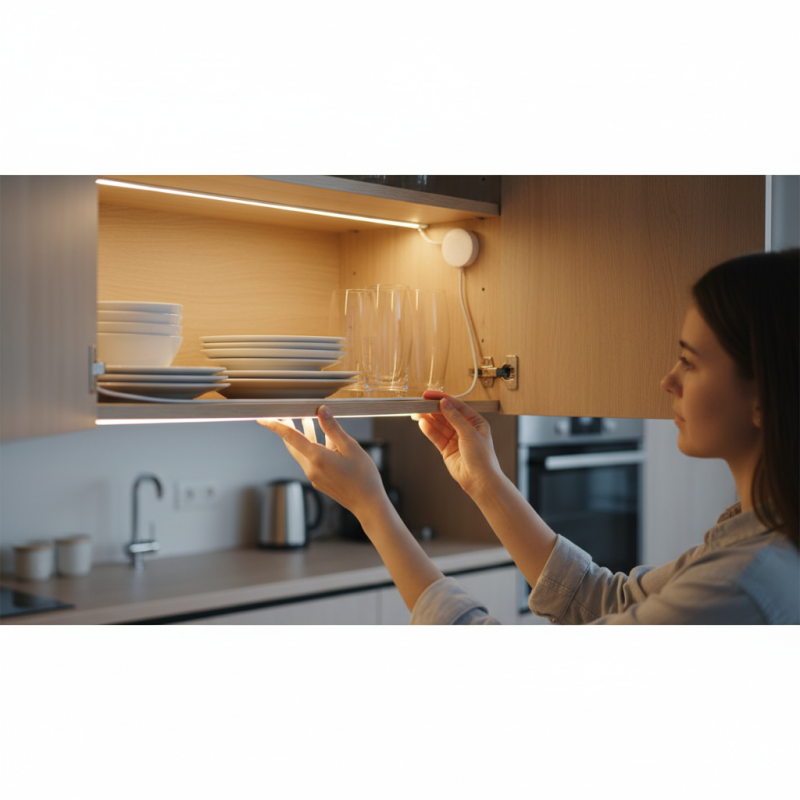
Incorporating an induction cabinet light is a straightforward yet impactful project that can transform ordinary cabinets into beautifully lit showcases. With their ability to automatically turn on and off when the door is opened or closed, these lights ensure that you never have to fumble in the dark again. This guide will walk you through the installation process, offering tips and best practices to maximize the benefits of your induction cabinet light. By following these steps, you will not only create a brighter home but also enhance its overall functionality and style.
Understanding Induction Cabinet Lights and Their Benefits
Induction cabinet lights have revolutionized the way we illuminate our living spaces, offering numerous benefits over traditional lighting options. These lights utilize electromagnetic induction to produce light, leading to energy efficiency and a longer lifespan. Unlike incandescent or fluorescent bulbs, induction lights can last up to 100,000 hours, reducing the need for frequent replacements and waste. Moreover, they emit minimal heat, ensuring a cooler environment within cabinets or closets, which is particularly important for preserving sensitive items.
Tips for installation include ensuring proper spacing between lights to achieve a uniform brightness. Aim for a distance of about 3-4 feet apart for optimal illumination. Also, consider using a dimmer switch to adjust the brightness according to your needs; this versatility allows you to create the perfect ambiance in your cabinets. When selecting the location for your lights, think about the practicality of access and visibility—placing them near the front of shelves or drawers maximizes their usefulness.
Additionally, using motion sensors can enhance convenience by automating the lighting. Sensors can detect when the cabinet door is opened, turning the lights on and off as needed. This not only saves energy but also simplifies your experience, making it easy to find items without searching in the dark.
Choosing the Right Induction Cabinet Light for Your Space
When it comes to selecting the right induction cabinet light for your space, understanding your specific needs and the environment is crucial. According to a report from the U.S. Department of Energy, LED lights, which include induction lighting technologies, use up to 80% less energy compared to traditional incandescent bulbs. This substantial energy efficiency is a key consideration when looking for induction cabinet lights, especially if you're aiming to create a sustainable and cost-effective lighting solution for your kitchen or storage areas.
Consider the color temperature of the induction cabinet light as it plays a significant role in setting the ambiance of your space. A study by the Illuminating Engineering Society indicates that warmer light (around 2700K-3000K) can create a cozy atmosphere, making it ideal for kitchen cabinets where relaxation and family gatherings occur. Conversely, cooler light (4000K-5000K) is better suited for tasks that require precision, such as working on a craft or cooking. Additionally, understanding the size and layout of your cabinets can help determine the number of fixtures needed to achieve uniform lighting, which is essential for functionality and aesthetic appeal.
Step-by-Step Guide to Preparing for Installation
When preparing for the installation of an induction cabinet light, the first step is to assess your kitchen or cabinet space. Identify the areas where you need additional lighting, taking into account the layout and the specific tasks conducted in those spaces. Make sure to consider different lighting angles to avoid casting shadows, ensuring that your work areas are well-lit.
Tips: Measure the dimensions of your cabinets and sketch a rough layout to visualize ideal light placements. This can significantly streamline the installation process and help in purchasing the right number of fixtures.
Next, gather all necessary tools and materials before beginning the installation. Common items include a drill, screws, wire connectors, and the induction lights themselves. Having everything at hand will minimize interruptions during the project. Remember to check the wiring in your existing cabinet to ensure compatibility with the new light fixtures, as improper connections can lead to inefficient lighting or electrical issues.
Tips: If you’re unsure about the wiring process, consider consulting an electrician to avoid potential hazards. It’s always better to prioritize safety to ensure a successful installation.
How to Install an Induction Cabinet Light for Optimal Home Lighting - Step-by-Step Guide to Preparing for Installation
| Step |
Description |
Required Tools |
Estimated Time |
| 1 |
Choose the location for installation |
None |
15 mins |
| 2 |
Gather necessary materials |
Screwdriver, Drill, Induction light kit |
20 mins |
| 3 |
Turn off power supply |
None |
5 mins |
| 4 |
Install the light fixtures |
Screwdriver, Drill |
30 mins |
| 5 |
Reconnect power supply |
None |
5 mins |
| 6 |
Test the installation |
None |
10 mins |
Installation Process for Induction Cabinet Lights
The installation of induction cabinet lights significantly enhances the functionality and aesthetic appeal of your kitchen or home workspace. According to a report from the U.S. Department of Energy, efficient lighting installation can reduce energy consumption by approximately 25%, making it not only a sustainable choice but also a cost-effective one. The process begins with selecting the appropriate location within the cabinetry to ensure even light distribution. Ideally, the lights should be positioned near the front edge of the shelves or cabinets for optimal illumination.
Once you've determined the right spot, prepare for installation by gathering necessary tools, such as a drill, screwdrivers, and a voltage tester. Begin by turning off power to the area to ensure safety while installing the fixtures. The next step involves marking the mounting points for the light fixtures, followed by drilling pilot holes and securing the lights in place. For a seamless look, hide any wiring and ensure that the lights are properly connected to the power source, ideally using a junction box. According to the National Electrical Code, all electrical work should be performed with careful attention to safety standards to prevent potential hazards. Following these steps will result in an efficient, well-lit cabinet that enhances your home's overall lighting.
Induction Cabinet Light Installation Process - Energy Efficiency Over Time
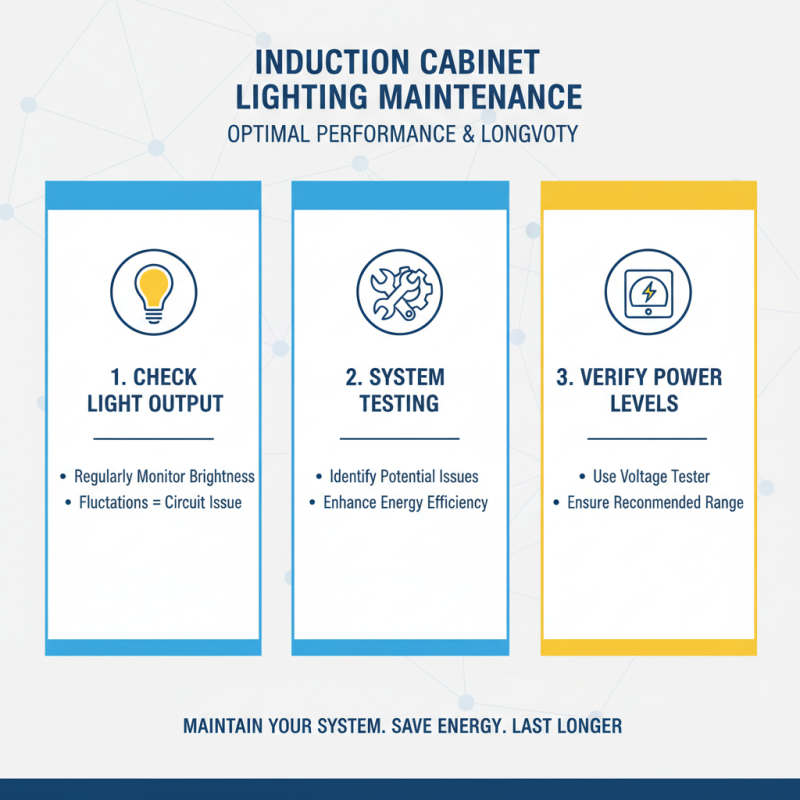
Testing and Maintaining Your Induction Cabinet Lighting System
Maintaining your induction cabinet lighting system is essential to ensure optimal performance and longevity. Regular testing of the system not only helps in identifying potential issues but also enhances energy efficiency. Start by checking the light output regularly. If you notice fluctuations in brightness, it may indicate an underlying problem in the circuits or connections. Use a voltage tester to ensure that the power levels are within the recommended range for your lighting fixtures.
Tips for maintaining your induction lights include cleaning the fixtures periodically to remove dust and grime that can affect brightness. An occasional check on the wiring and connections will also help prevent potential hazards. If there's any sign of wear or damage, such as frayed wires or loose connections, it is crucial to address these immediately.
Additionally, consider implementing a schedule for testing your induction lights. A simple monthly inspection can save you from unexpected outages and repair costs. Keeping a log of the maintenance conducted, including cleaning and testing dates, can help track the performance over time and facilitate timely interventions when necessary.
 +86 18968869621
 CONTACT NUMBER